Welcome to Trezor Start, the official guide to setting up your Trezor hardware wallet and securing your digital assets with confidence. Whether you’re just beginning your crypto journey or expanding your self‑custody setup, Trezor gives you the power to take full control of your crypto — safely and simply.
This guide will walk you through everything you need to go from unboxing to managing your crypto securely. Let’s begin.
In the world of digital assets, security and ownership go hand‑in‑hand. When you hold crypto with a Trezor device, you’re choosing true self‑custody. That means you — not an exchange or third party — hold your private keys.
Trezor hardware wallets are designed with one core mission: keep your private keys offline and under your control. By storing keys in a secure, offline environment, Trezor protects your assets from hacks, phishing, malware, and online breaches.
Whether you plan to hold Bitcoin, Ethereum, ERC‑20 tokens, NFTs, or other digital assets, Trezor gives you a secure foundation to build from.
Before you start setup, gather the following:
You’ll also want to make sure you’re on the official Trezor setup website: trezor.io/start. This ensures you’re using the correct tools and avoiding phishing sites.
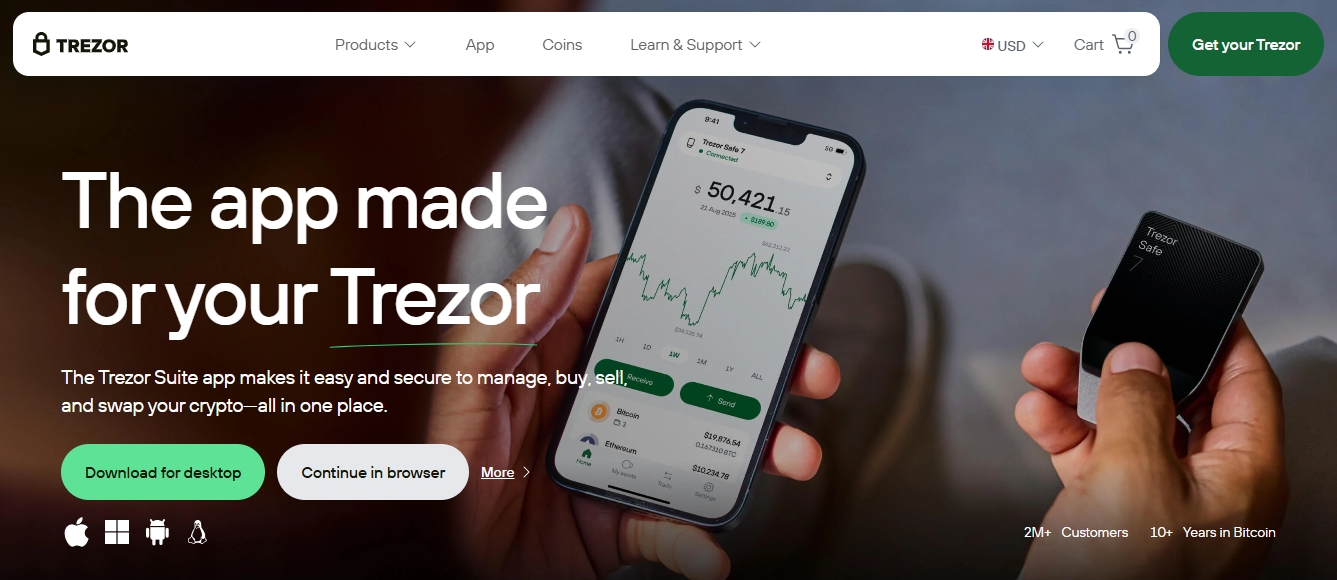
Begin your setup by visiting trezor.io/start in a modern web browser. This official page will redirect you to the Trezor Web Wallet or prompt you to install the latest version of the Trezor Suite app — the official desktop/mobile app for managing your crypto.
You may be offered two options:
Both options are official and secure. Choose the one that fits your workflow — you can always switch later.
Security Tip: Only use the wallet apps directly from trezor.io/start. Avoid third‑party downloads or unofficial links.
Once you open the official wallet interface, you’ll be prompted to connect your Trezor device:
Your device screen will light up and guide you through the next stages of setup.
For security and performance, it’s important to install the latest firmware:
Firmware updates keep your device protected against new vulnerabilities and ensure compatibility with the latest crypto standards.
Never install firmware from unofficial sources. Only the digital signatures from Trezor are trusted.
Once firmware is installed, the next crucial step is generating your recovery seed — a set of 12 or 24 words that represents the master key to your wallet.
This recovery seed is the most important piece of information in your crypto journey.
You’ll be asked to confirm your seed words on the device to ensure you copied them correctly.
Important: Anyone with access to your recovery seed can control your crypto. Keep it secure.
Setting a PIN code adds an extra layer of security — protecting your device in case it’s lost or stolen.
Your PIN is entered on the Trezor device screen, not your computer. This prevents keyloggers or malware on your computer from capturing it.
Choose a PIN that:
After setting the PIN, your device is secured and ready for use.
With your device set up, the next step is adding accounts for the assets you want to manage. Trezor supports:
In Trezor Suite or the Web Wallet:
Your accounts will appear in the wallet UI, where you can view balances, transaction history, and more.
Once accounts are added, you can start transacting:
To Receive:
To Send:
Every transaction requires physical confirmation on the device itself — ensuring that even if your computer is compromised, unauthorized transactions cannot be executed.
Your Trezor device is more than a storage wallet. It’s a full gateway to securely managing and interacting with your digital assets:
All interactions remain anchored by the security of your Trezor device.
Security is an ongoing process. Here are best practices to follow:
Your vigilance makes a big difference in protecting your digital assets.
Trezor offers a wide range of support resources to help you get unstuck:
Whether you’re a beginner or advanced user, Trezor provides the resources you need to feel confident and secure.
With Trezor, you truly own your crypto. Exchanges and online wallets often hold your private keys on your behalf — which means they control access. Real self‑custody means you control your keys, and no one else can move your assets without you.
Trezor’s offline security model protects you from:
Your crypto is yours. Trezor helps you keep it that way.
By following the steps above, you’ve:
Welcome to true crypto ownership.
Secure your digital future with Trezor — your trusted partner in self‑custody.